
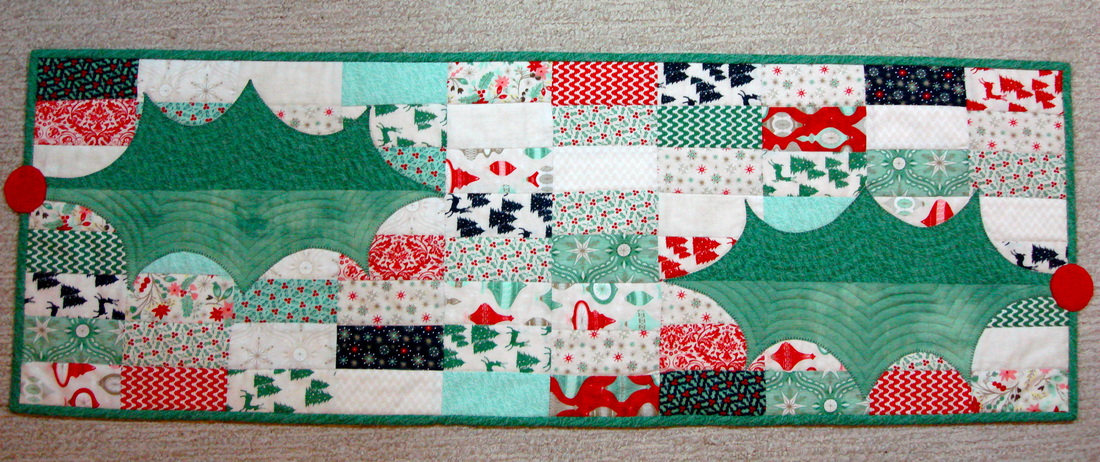
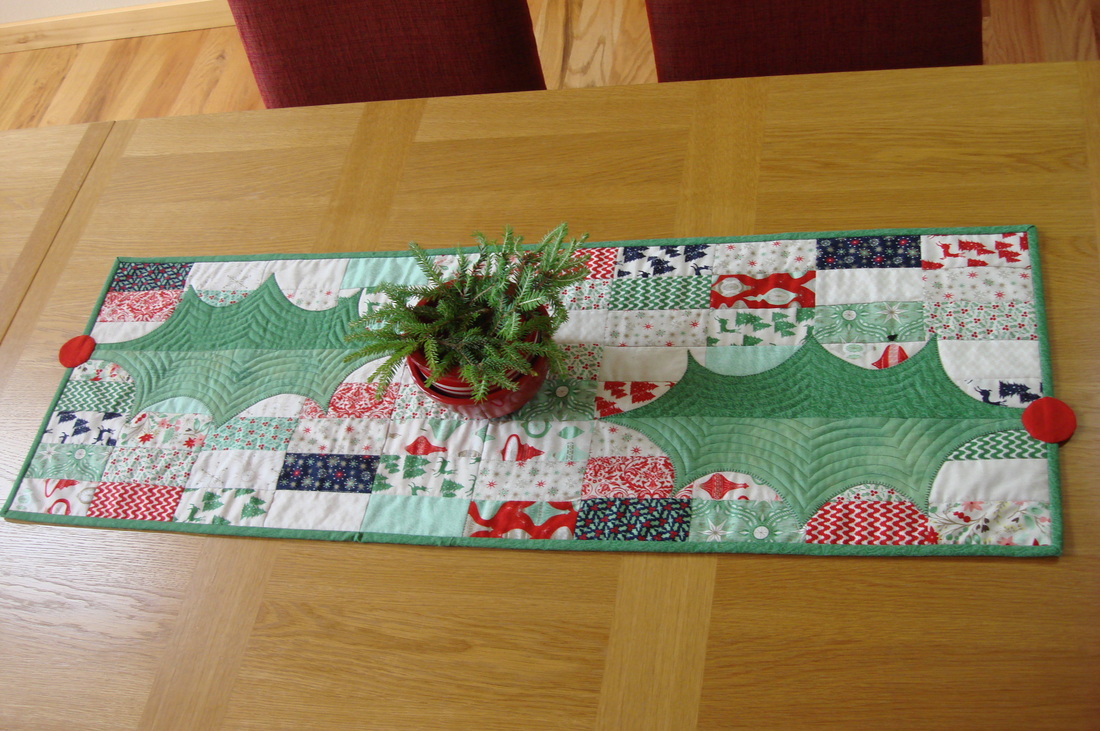
  Be sure to visit the Moda Bake Shop today and download Holly on 25th and Pine. I'm excited to be sharing another pattern with you. It's an easy table runner with holly leaf exclamation points and a good way to use up scraps from your stash if you like. I had fun making it and hope you will too. The 25th and Pine line is by Basic Grey from Moda and this pattern uses either two Charm Packs or a Layer Cake.
0 Comments
I've been on a sock monkey kick again... After making a couple of baby quilts, it must be time for some Christmas tree ornaments. They're kinda funky but I'm sure the granddaughter will like them if no one else. To make these, I used the Sock Santa, and Rudolfarilla applique template patterns from my first post on the Moda Bake Shop.There is also a template for Moda Elf which I haven't done yet. http://www.modabakeshop.com/2011/12/sock-santa-modaelf-rudolpharilla.html#more 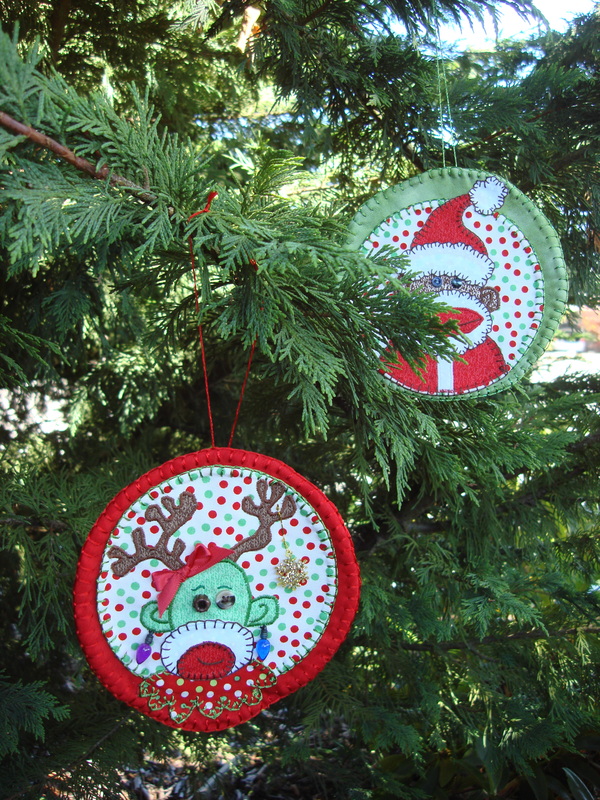
There is definitely some work in these but they're kinda fun and funny looking peeking out from the tree. 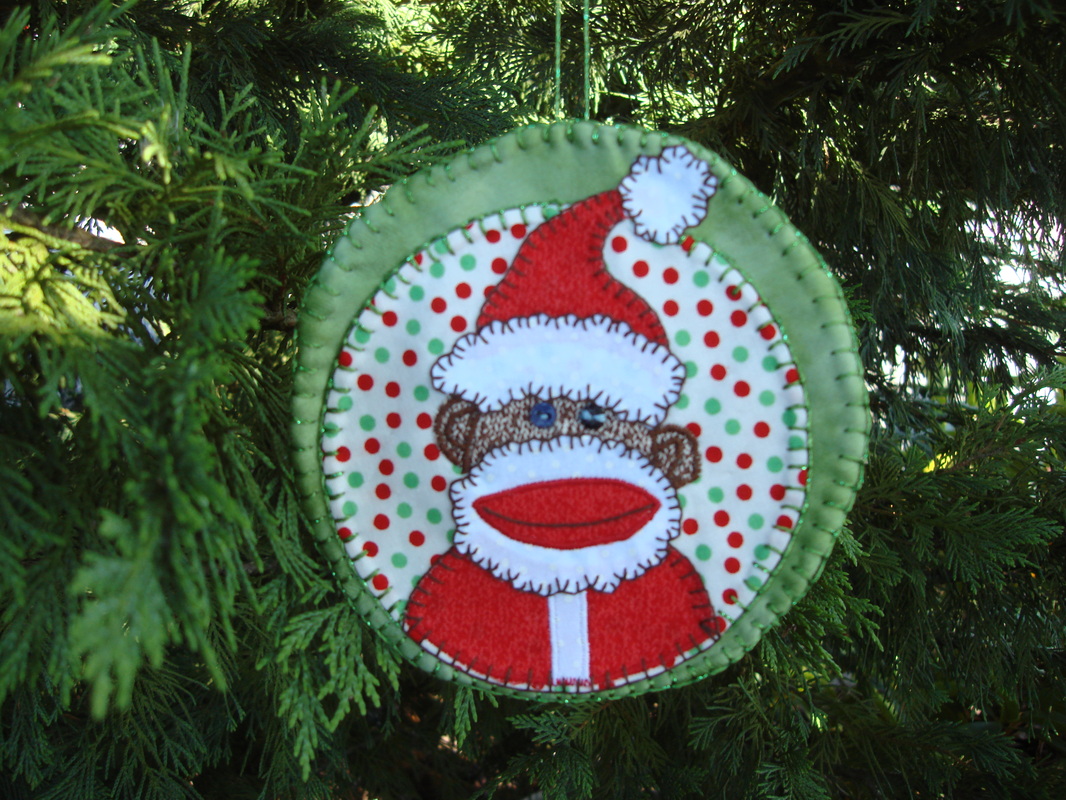
Here's how these were made. Circle background 1 - Cut 3, 6.25" circles, 2 fabric and 1 cotton batting. Layer the fabric circles right sides together, fabric on top of batting circle. Pin and sew around the circle leaving a small opening. Turn right side out, smooth seam with a chopstick and press. Close opening with whip stitch. Applique Background 2 - Trace a 5" diameter circle on sew in interfacing. Lay interfacing on top (right side up) of applique background fabric. Shorten stitch length to 15-18 stitches per inch and sew around circle on drawn line. Trim around circle, 1/4" seam allowance. Cut slit in interfacing only and turn circle right side out.Smooth seam and press. Reduce the applique templates by 50% so they end up being approx. 4" tall. Trace reversed templates on to fusible webbing and fuse to wrong side of applique fabrics. Cut out appliques on drawn line, remove paper and fuse pieces together using an applique pressing sheet. Carefully peel assembled applique from the pressing sheet. Fuse to background 2 except for anything that hangs over on to 1st background. You can download and follow the instructions for assembling appliques from the original recipe. http://www.modabakeshop.com/2011/12/sock-santa-modaelf-rudolpharilla.html#more Most of the embellishment for these is done on background 2. Interfacing and anything you don't want to show will be covered when ornament is finished. The interfacing makes a nice stabilizer if you want to outline the characters in satin stitch. I also added some hand blanket and stem stitch for fun. Fuse any pieces that hang over to background 1 (like Santa's pom pom) last. Button eyes, tiny light button earrings and a ribbon are used for Rudolfarilla. Oh and a little gold snowflake found in the button box for some sparkle. Sock Santa has one button eye and a bead for the other. I finished by stitching background 2 to background 1, using blanket stitch and metallic embroidery thread. Then one more time around on first background edge with blanket stitch and a piece of embroidery thread is used for the hanger. 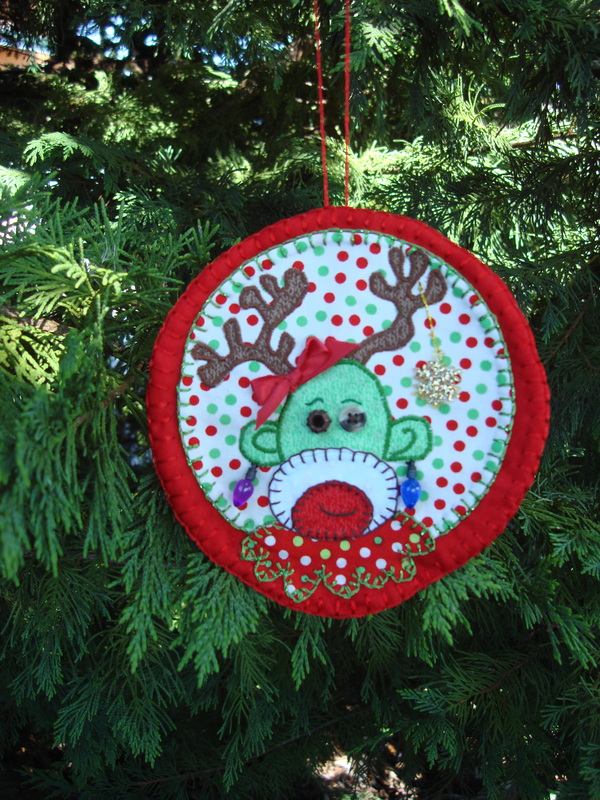
|


Archives
July 2023

|
 RSS Feed
Home The Pattern Store Robin's Blog Contact Copyright 2002-2024 Robin C. Nelson All rights reserved