
 Here's how these were made. Photo above is the completed rainbow edition of my bear paw baby quilts. They are finished envelope style so there is no binding. The quilting happens after all edges are finished including the dimensional bear heads and paws. For the body of the quilt, I made four bear paw blocks with center sashing and border surround. Love these colorful wovens. I've wanted to use them for years now. Any fabrics in rainbow colors would be fun! Blue plaid flannel version of this quilt (scroll down for pics), has an additional small border just because I thought it needed it. 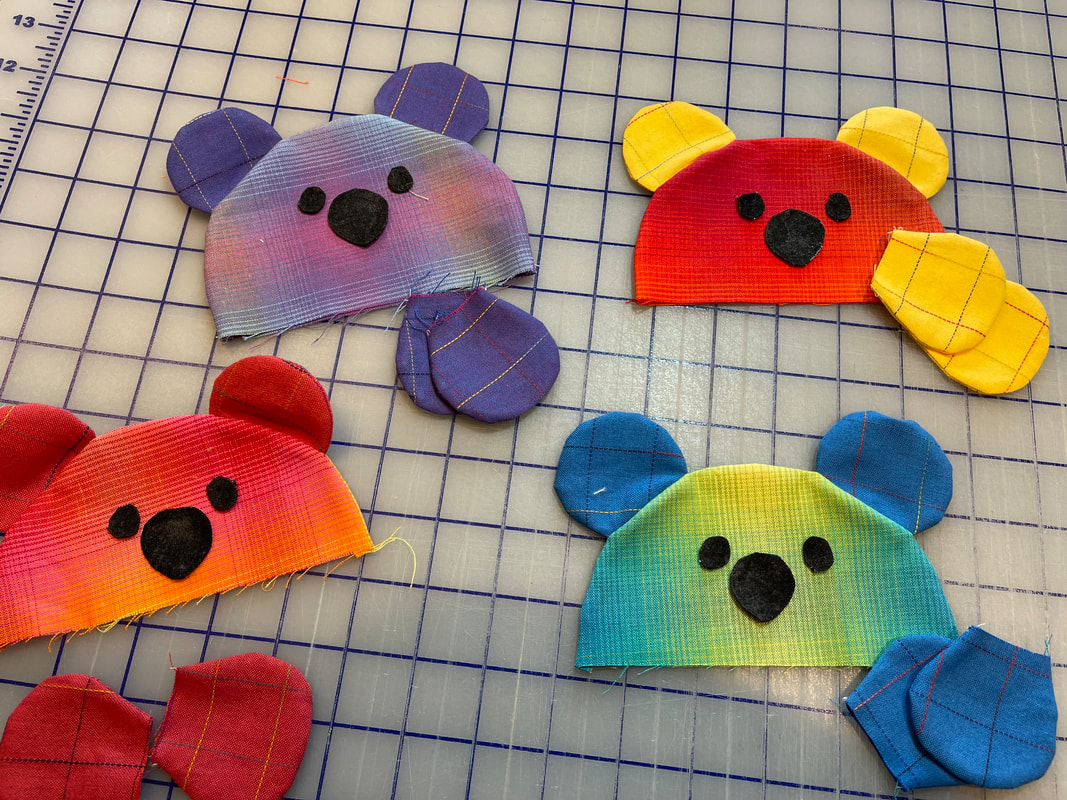 The bear heads and ears are made by sewing two fabric circles (RS) together and cutting a portion off so they can be turned right side out. I drew the paw shape. Cut 4 paw shapes for each bear. Sew around the edges leaving narrow side open. Turn and press. For the heads and ears, make the ears first. Cut and sew around circles. Slice a small piece off of one side. Turn and press. Cut two circles for each bear head just like you do for the ears. Place ears in the seam allowance of the head circles leaving space between the ears :). Sew around entire circle. Cut a small portion off of the circle opposite the ears. Turn right side out and press. Applique the eyes and noses. Cut backing and batting the same size as your top. Now you're ready to assemble and quilt. 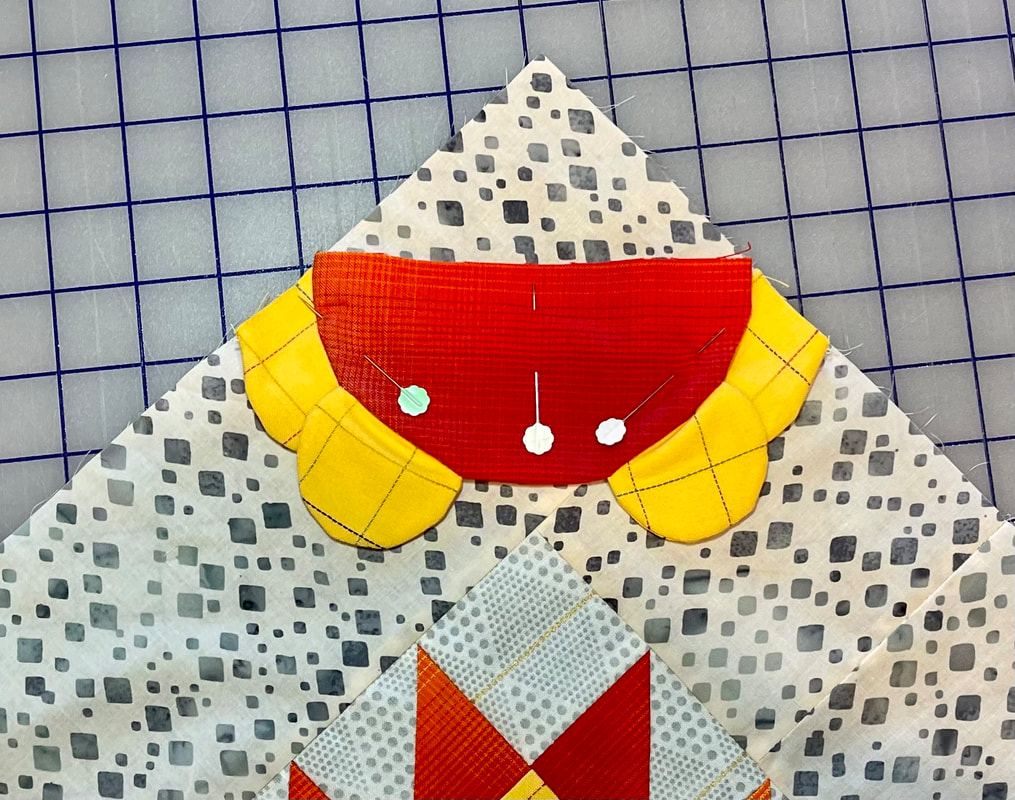 Center bear head approx. 3" from the corner point on quilt top. Bear head edges should reach quilt sides. Make sure you leave at least a seam allowance beyond the nose. Match up raw edges of paws on either side of the head so raw edges end up in seam allowance. At this point, I basted the heads and paws in place. Next step. Don't be scared but trim off the corner of the top (matching raw edges of bear head). Repeat for all 4 corners. Place the quilt top right side up on top of the batting (I spray basted top to batting). Place backing right side down on top of the quilt top. Match up edges and baste around entire quilt to avoid shifting. Leave a fist sized opening for turning. Sew around the edge. I used a 3/8" seam allowance on this step. Blunt corner edges, remove basting and turn right side out. Use a chop stick to push out corners and flatten seams. Press edges and sew around entire quilt closing the opening. 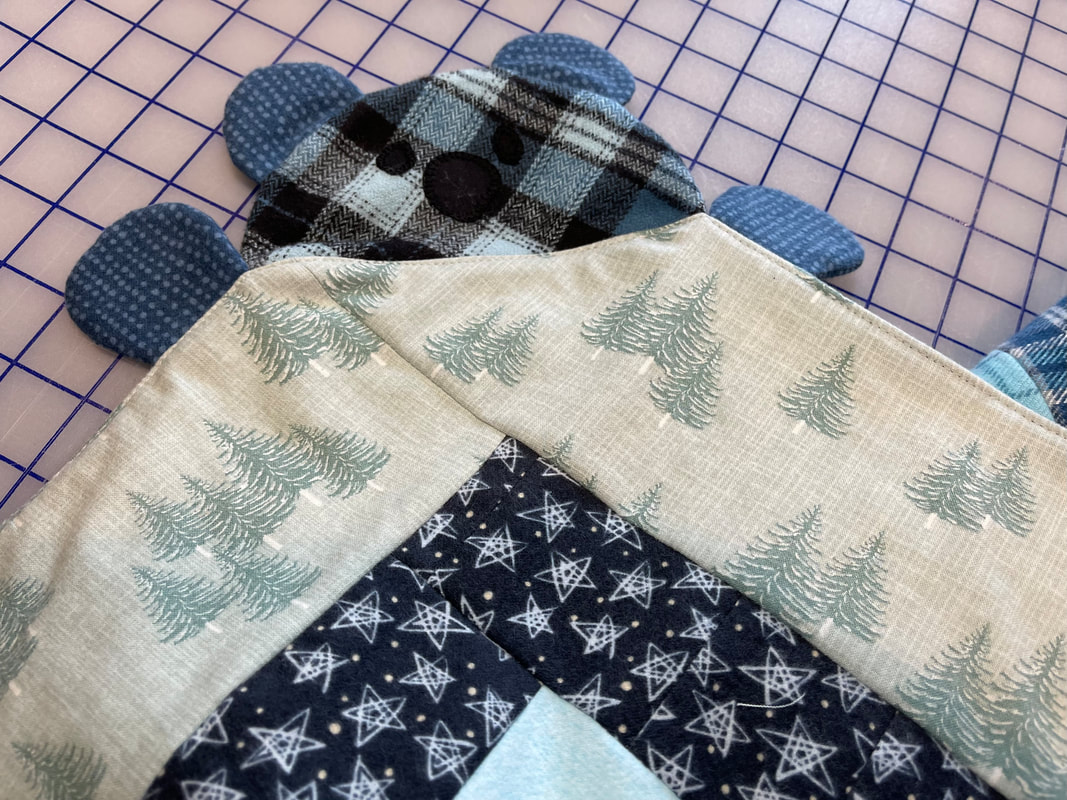 This is how the corners of the quilt look after the quilt sandwich is sewn together and turned. Bear heads and paws are freeeeee. Now you're ready to quilt. Make sure bear heads and paws remain free as you quilt This is small so easy enough to quilt on a home machine or by hand in any way you like. 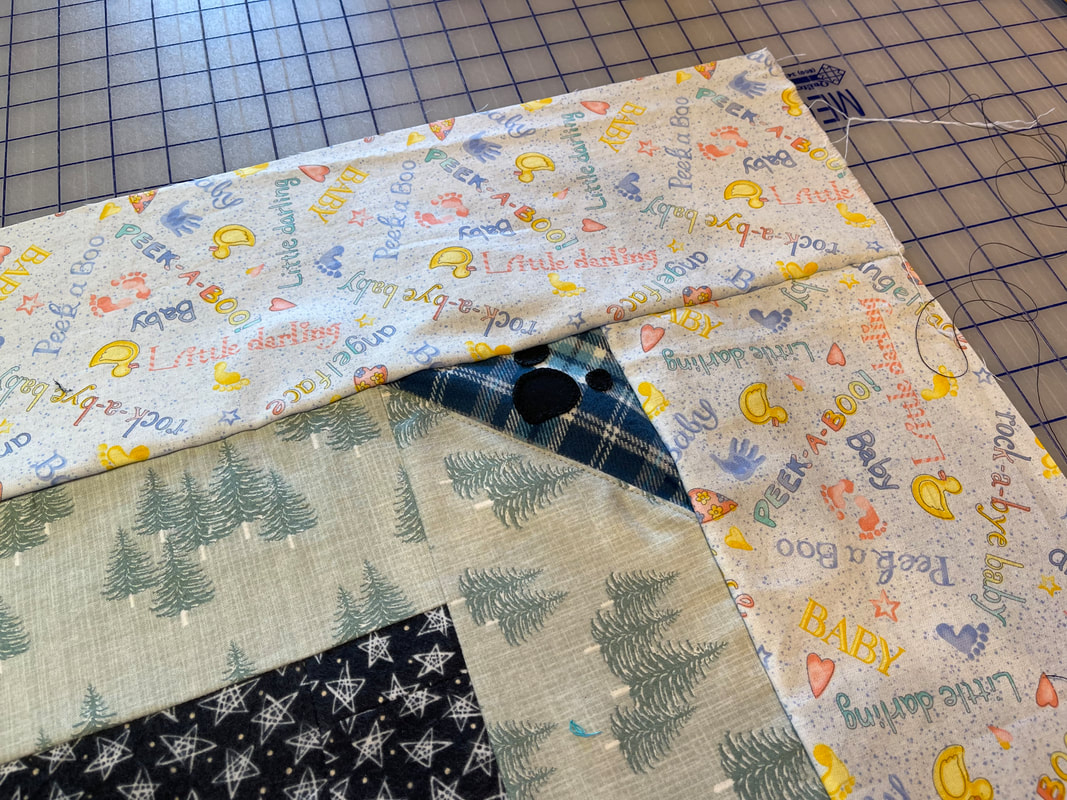 These two were quilted on my longarm. Strips were added to quilt edges for loading. This helped keep the heads and paws free also. 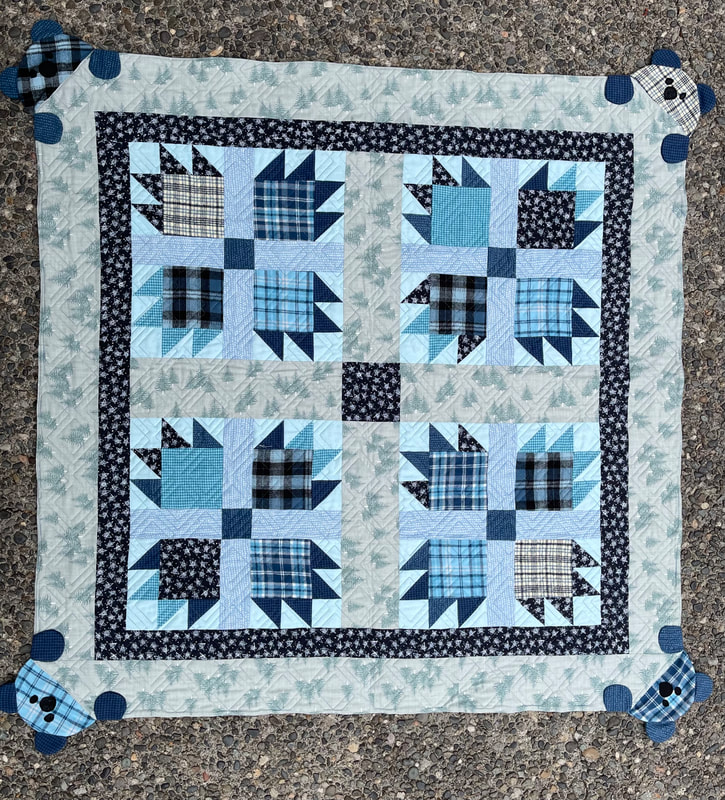 Plaid quilt is slightly larger because a framing strip was added around the bear paw blocks. All flannel fabric including the back is oh so soft. Last step after quilting. Applique paws to quilt sides so it appears bears are peaking over the corners. 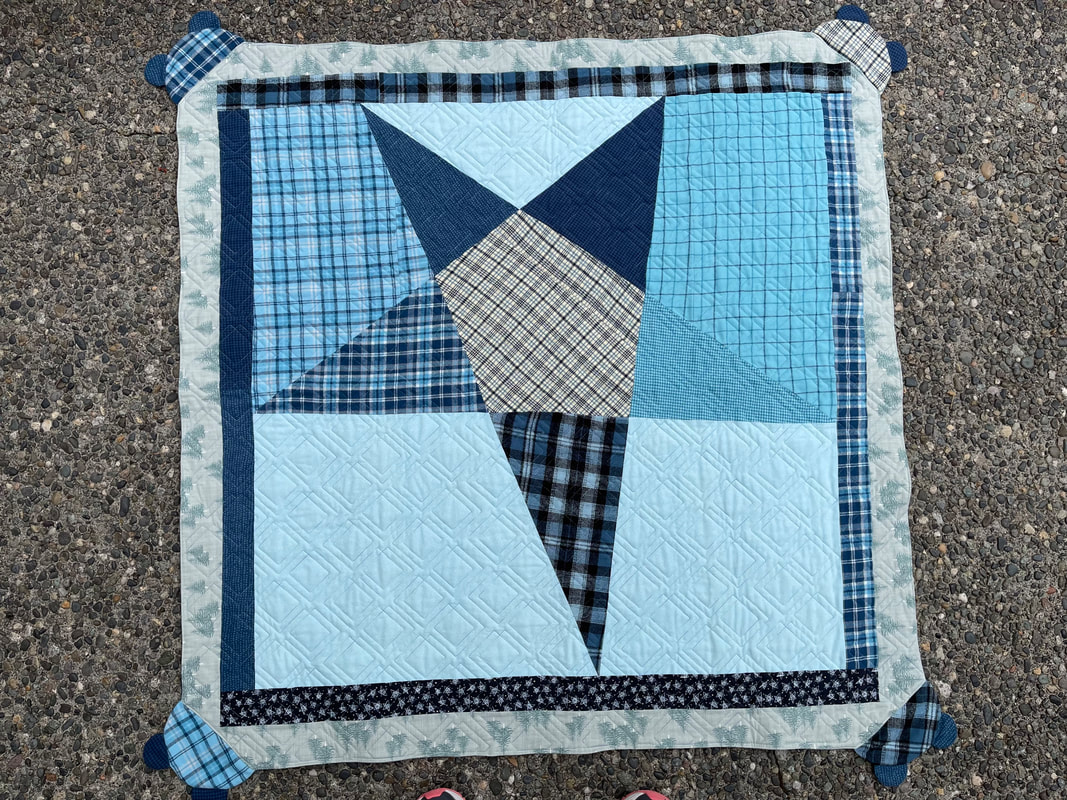 Had some fun piecing the back of this one too. Used up a lot of leftover flannel from the top. The star is from an out of print pattern called Baby Big Star by Linda Johnson. Pantograph is Diagonal Plaid by Urban Elementz.
0 Comments
|


Archives
July 2023

|
 RSS Feed
Home The Pattern Store Robin's Blog Contact Copyright 2002-2024 Robin C. Nelson All rights reserved